Table of Contents
Quick Books Integration | IIF File
CCS Offers a basic integration package for Quickbooks for free. It allows you to export a IIF File. IIF Files can the be imported into your Quickbooks system.
CCS will prepare a file with the following information:
- Sales
- Cost of Goods
- Inventory
- Sales Tax
- Payments - Cash, Credit, Other
You will need to input your Account #'s for each type.
For Auto Email
Setup your email account - Office - Control Panel - Email Check off “Email QB IIF” File. This will email out a IIF File when you close the day.
Operations
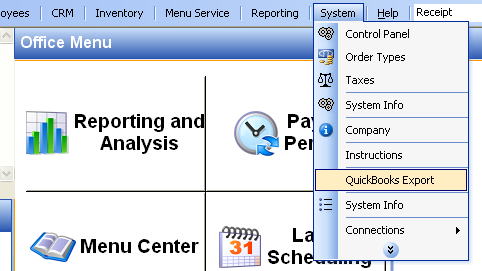
From Office - Main Toolbar - QuickBooks Export. Open the Window, input the date range, and press “Refresh Trans.” Then press “Export.” A Quickbooks file will appear on your desktop, use this to import into Quickbooks.
Step 1
Open the Quickbooks export window.

Step 2
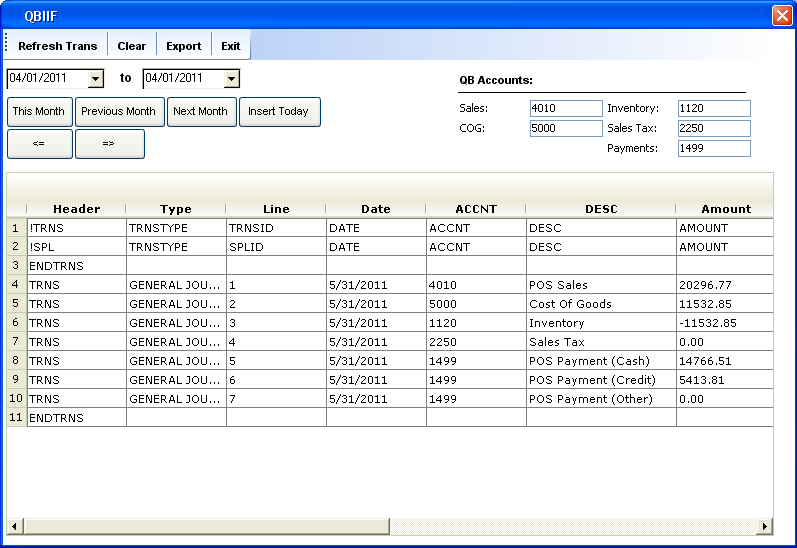
Input the date range to export. Press “Refresh Trans”

Step3
Once the data is refreshed, you can export the file. It will automatically export to your desktop as “QBIIF.iif”

Step 4
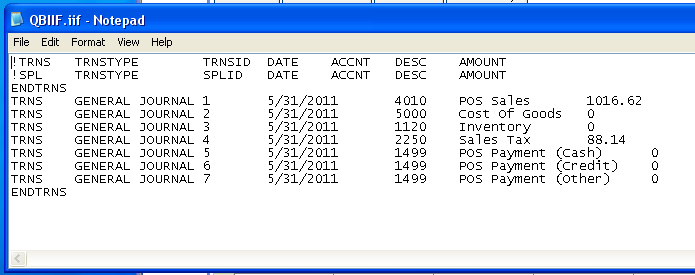
If you were to open the QBIIF File in notepad, this is what it would look like.

Step 6
To import Quickbooks, follow the steps below:
- Open Quickbooks
- Navigate to File > Utilities > Import > IIF Files
- The Import window will appear. Select the IIF file that you saved.
- Click Open.
- Click OK when the message “Your data has been imported